Despite being protected by bedding, sweat, stains, dust mites and more can still seep into the fibers, even through the mattress topper or mattress pad.
Why Regular Mattress Cleaning Matters
❝Dust mites, pollen, dust, and loose dirt can cause allergies and trigger asthma attacks❞
❝Sleeping on a clean mattress can prevent these triggers and help you to have a good night's sleep❞
Says Brian Sansoni, senior vice president of communications at American Cleaning Institute.
Practical chapters
- Health benefits of clean mattresses
- How often should you clean your mattress?
- Essential supplies for DIY mattress cleaning
- Step-by-step mattress cleaning process
- My other natural DIY cleaning solutions
- Urine stains removal solutions
- Sweat and perspiration stains removal solutions
- Yellow discoloration solutions
- Mold and mildew removal solutions
- Blood stains removal solutions
- My advanced mattress cleaning techniques
- Prevention techniques: better than cure!
- What to avoid when cleaning a mattress
- Memory foam special considerations
- Any limits in DIY?
- Health and safety first
Health Benefits of Clean Mattresses
- Reduces allergens and dust mites
- Eliminates bacteria and microbes
- Prevents pest infestations
- Improves air quality in your bedroom
- Reduces respiratory issues and skin irritation
- Extends mattress lifespan significantly
According to one study, an average mattress might house anywhere between 100,000 and 10 million dust mites.
Regular cleaning helps combat this invisible threat to your health.
How Often Should You Clean Your Mattress?
Most agree that a mattress should be deep cleaned at least twice a year and vacuumed approximately once a month.
However, it's important to give your mattress a monthly cleaning (but definitely wash your sheets way more often than that, like at least once a week!).
Cleaning Schedule
- Monthly: Vacuum and basic maintenance
- Bi-annually: Deep cleaning treatment
- As needed: Immediate stain treatment
- Weekly: Wash all bedding in hot water
Essential Supplies for DIY Mattress Cleaning
Before starting, gather these common household items.
Basic Cleaning Kit:


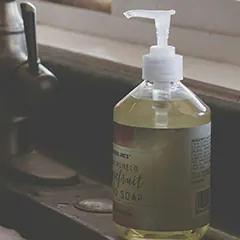
DIY cleaners can be made with items you may already have in your pantry, such as baking soda, white vinegar or laundry detergent.
Step-by-Step Mattress Cleaning Process
Step 1: Preparation and Setup
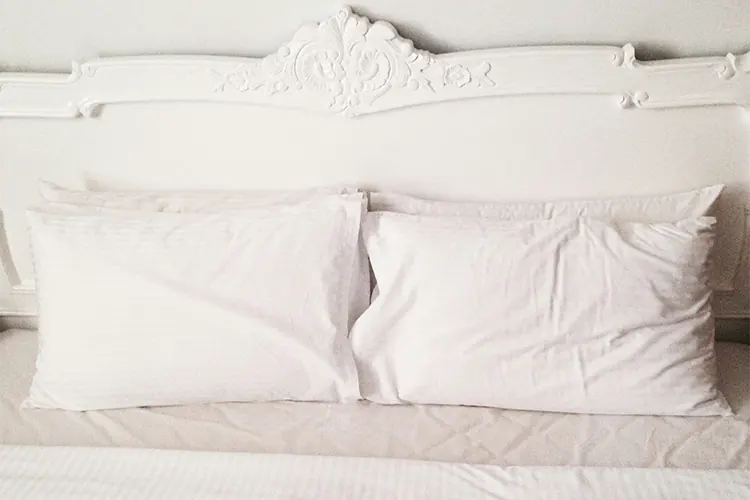
Remove your bedding – take the duvet, pillows and bottom sheet off the bed, and throw the covers into the washing machine while you're at it.
That way, when you have a clean mattress, you'll snuggle under fresh sheets!
Pre-cleaning checklist:
- Strip all bedding completely
- Open windows for ventilation
- Check manufacturer's cleaning instructions
- Test cleaning solutions on a small, hidden area first
Ideally, you'll want to wash bedding in hot water in order to get rid of dust mites, but it's important to follow the recommended care instructions to avoid potential shrinkage or fading.
Receive the best offers for your home, negotiated for you
Unsubscribe anytime. We promise, no misused or sold emails, we hate unsolicited mailings.Step 2: Thorough Vacuuming
Using your vacuum's upholstery attachment, clean the entire surface of the mattress.
Make sure to vacuum the sides of the bed to remove dust, and stretch the fabric to remove debris from seams.
Proper vacuuming technique:
- Use upholstery attachment for gentle cleaning
- Work from top to bottom in overlapping strokes
- Pay special attention to seams and crevices
- Vacuum horizontally, then vertically for thorough coverage
- Don't forget the sides and edges
As you vacuum, pay special attention to seams and crevices. That is where icky stuff tends to accumulate.
Step 3: Spot Cleaning Stains
The main goal here is to use as little cleaning solution as possible, and to not over-soak the mattress. Never apply cleaning solution directly to the bed itself – instead, use a clean rag to apply and remove the solution.
General Stain Removal Rules:
- Always blot, never rub or scrub
- Work from outside of stain toward center
- Use cold water for protein-based stains
- Test solutions on inconspicuous areas first
- Allow complete drying before remaking bed
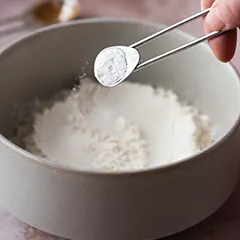
Step 4: Deodorizing with Baking Soda
Sprinkle baking soda over the entirety of the mattress.
Then, let the baking soda sit for, at minimum, an hour. The baking soda will then start to absorb excess liquids and odors.
Baking Soda Treatment:
- Sprinkle generous amount across entire surface
- Add 4-5 drops of essential oil for pleasant scent (optional)
- Let sit for minimum 1 hour (overnight for best results)
- Vacuum thoroughly to remove all residue
Baking soda is a natural deodorizer and will help absorb any lingering odours or moisture.
Step 5: Final Drying and Airing
Choose a warm, dry day to clean your mattress.
Open windows for airflow or place it outside in direct sunlight if possible.
Proper Drying Tips:
- Ensure complete air circulation
- Use fans to speed drying process
- Avoid heat sources that could damage foam
- Allow 6-8 hours minimum drying time
- Check for dampness before remaking bed
Natural DIY Cleaning Solutions
All-Purpose Mattress Cleaner
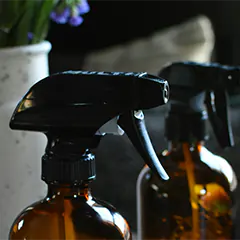
Magic (we wish) Mattress Cleaning Solution: 1 part white vinegar + 2 parts water + a squeeze of mild dishwashing liquid.
Pop it in a spray bottle and you're good to go.
Recipe:
- 1 cup white vinegar
- 2 cups water
- 1 tablespoon liquid dish soap
- Mix in spray bottle, shake well
Enzyme-Based Alternative
For blood, sweat, urine, and other biological stains, the best option is typically a commercial enzyme cleaner.
However, you can create an effective DIY enzyme substitute.
DIY Enzyme Solution:
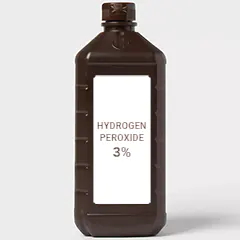
- 1 cup hydrogen peroxide (3%)
- 3 tablespoons baking soda
- 2-3 drops liquid dish soap
- Mix gently until baking soda dissolves
Heavy-Duty Stain Fighter
In a container, combine 1 cup of 3-percent hydrogen peroxide, 3 tablespoons of baking soda, and a few drops of liquid dishwashing soap.
Stir the mixture well until the baking soda dissolves completely.
Specific Stain Removal Solutions
a/ Urine Stains
Urine is arguably one of the easier types of stains to clean up. You'll still want to move quickly, since urine stains will get harder to remove with time, but common household ingredients like vinegar or hydrogen peroxide make the process pretty easy.
For Fresh Urine Stains:
- Blot up as much of the wee as you can using a clean towel or cloth
- Make a 1:1 solution of white vinegar and water
- Spray the stained area and let sit for 15 minutes
- Blot again with clean cloth
- Sprinkle bicarb soda (aka baking soda) generously over the area and let it sit for 8 hours
- Vacuum away residue
For Dried Urine Stains:
Mix in a spraying bottle:
- baking soda (3 tbs.),
- dishwashing detergent (2 to 3 drops),
- and 10 oz. of 3% hydrogen peroxide.
Apply to stain, let sit for 30 minutes, then blot and vacuum.
Important Note: Note that when it comes to urine, pet messes are different from human messes, so you're better off using an enzyme cleaner if your pet has had an accident.
b/ Sweat and Perspiration Stains
Even the best cooling mattresses and breathable bedding fabrics may be no match for night sweats.
Sweat stains are among the most common mattress issues.
Sweat Stain Treatment:
- Dampen the sweat stain with a soft cloth and cool water
- Create paste: 3 tablespoons baking soda + 1 cup warm water
- Spread paste over stain, let sit for several hours
- Wipe off with damp cloth
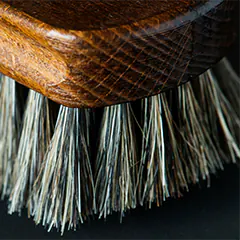
- For stubborn stains, scrub gently with soft brush
Alternative Method:
Mix equal parts liquid dish soap, hydrogen peroxide and water for tougher perspiration stains.
c/ Yellow Discoloration
❝The main reason for this is oxidation, it's a natural process aided by exposure to the effects of the sun.❞
Yordanov explains.
Yellow stains have multiple causes and varying removal difficulty.
For Treatable Yellow Stains:
- Spray the stained area thoroughly with vinegar and let it soak in for a good 30 minutes
- Sprinkle the area with baking soda and leave it overnight
- Vacuum all residue the next morning
- Repeat if necessary
For Stubborn Yellow Stains:
- Fill an empty spray bottle with hydrogen peroxide and mist it over the spot.
- Let the peroxide sit for five minutes and blot.
- Repeat this step until the stain disappears.
Note: Like most things in life, as your mattress ages it's prone to natural decay... This yellowing isn't harmful... And oxidation can be slowed with a mattress protector.
d/ Mold and Mildew
In some cases, yellow stains can indicate mold growth.
Excess moisture and bacteria can create the perfect environment for mold to thrive, and sleeping in such close proximity to it can be dangerous to your health.
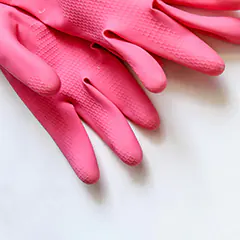
Safety First: Wear protective equipment including gloves, mask, and eye protection.
Mold Removal Process:
- Vacuum the mattress thoroughly to remove any loose mold spores
- Mix alcohol and warm water in a disposable container in a 1:1 ratio
- Dip a cloth and scrub the affected area in a circular motion until the mould disappears
- Use a separate clean cloth to dry off any excess liquid and sprinkle baking soda directly onto the mattress
- Let stand several hours, then vacuum up
Alternative Natural Method:
- Simply sprinkle the affected area with lemon juice. The citric acid destroys the cell walls of the mold spores and the mold dissolves.
- Then sprinkle with salt, baking soda or baking powder and place the mattress in the sun, if possible, and let it dry.
When to Replace: If your mattress is extensively infested with mold and black spots, you unfortunately have no choice but to dispose of the mattress directly.
Otherwise, serious health problems may arise.
e/ Blood Stains
Blood stains are one of the trickier stains to remove. Blood binds to fibers over time as it dries, so it's best to deal with blood stains while they're still fresh.
Critical Rule: It's very important that you only use cold water when tackling a blood stain. Heat can "cook" the proteins and bind them to fibres, making the stain harder to remove.
For Fresh Blood:
- Grab some cool water (not hot – that will just set the stain into the fabric) and a clean cloth, then dab the blood with the wet cloth
- Blot, don't rub, to avoid spreading!
- Apply hydrogen peroxide directly to remaining stain
- Let bubble for 30 seconds, then blot clean
For Dried Blood:
- Make a paste with bicarb and cold water and apply it to the stain.
- Let it sit for 30 minutes before dabbing it with a new clean, damp cloth.
For tougher spots, spray on 3% hydrogen peroxide as an after treatment and let that sit for 10 minutes.
Dab away residue with clean, damp cloth.
My advanced Cleaning Techniques
Steam Cleaning Method
Steam-cleaning your mattress is also an effective way to treat surface stains.
It penetrates through layers to lift oils and blast away underlying bacteria.

Steam Cleaning Process:
- Vacuum mattress thoroughly first
- Pre-treat stains with appropriate solutions
- Holding the steamer a few inches above the mattress's surface on a medium heat setting and keeping it away from the fabric, carefully slide it across the bed with long, low strokes
- Allow complete drying before remaking bed
Benefits:
- Because steam cleaners typically reach high temperatures of at least 100°C it's hot enough to kill off any bacteria as well as any pests.
Hydrogen Peroxide Deep Treatment
Because its a mild bleaching agent, it does a really good job of getting rid of stains from urine, blood and sweat.
Safe Application:
- Always use 3% hydrogen peroxide only
- Mix one part hydrogen peroxide with two parts water
- Test on hidden area first to check for bleaching
- Spray the stain, being mindful not to over-saturate your mattress
Prevention: Better Than Cure
Mattress Protection Strategies
Sansoni strongly recommends that people also invest in a mattress encasement:
❝Having one is crucial to keeping your mattress from being ruined by stains and spills❞
Protection Options:
- Waterproof mattress protectors
- Breathable mattress encasements
- Hypoallergenic covers
- Washable mattress pads
Daily Maintenance Habits
— Morning Routine:
- Rather than making your bed tout de suite the matin, fold back the duvet and let the mattress air out
- Open windows for 15 minutes daily
- Allow moisture to evaporate naturally
— Weekly Tasks:
- Wash all bedding in hot water
- Vacuum mattress surface
- Rotate mattress position
- Check for new stains or odors
— Monthly Deep Clean:
- Complete vacuuming of entire mattress
- Spot treat any new stains
- Apply baking soda treatment
- Flip or rotate mattress if applicable
What to Avoid When Cleaning
Dangerous Cleaning Mistakes
Never Use:
- Harsh chemicals like bleach or ammonia on foam mattresses
- Excessive water that could cause mold
- Hot water on protein-based stains
- Heat sources like hair dryers on foam mattresses
Common Errors:
- Rubbing or scrubbing stains (pushes deeper)
- Over-saturating with cleaning solutions
- Not allowing complete drying time
- Using colored cloths that might transfer dye
Memory Foam Special Considerations
Memory foam is highly porous, meaning any liquid, such as urine, will eventually sink in. And if your mattress gets too wet, that could spell disaster.
When memory foam gets wet, it can result in the growth of mold within the mattress or even the breakdown of the foam.
Memory Foam Care:
- Use minimal liquid when cleaning
- Focus on blotting rather than scrubbing
- Allow extra drying time
- Avoid heat sources completely
When to Call Professionals vs. DIY
DIY is Suitable For:
- Fresh stains and spills
- Regular maintenance cleaning
- Light to moderate discoloration
- Odor removal
- Preventive care
Professional Cleaning Needed For:
- Extensive mold infestation with black spots
- Deep-set stains over 24 hours old
- Persistent odors after multiple treatments
- Warranty-covered cleaning requirements
- Valuable or delicate mattress materials
Signs It's Time for Mattress Replacement!
If your mattress is over 7 years old, shows visible signs of sagging, the material is ripped or torn or you've noticed dips that are deeper than 1.5 inches, then it's time to invest in a new one.

Replacement Indicators:
- Extensive permanent staining
- Persistent mold growth
- Structural damage or sagging
- Age over 8-10 years
- Persistent odors despite cleaning
Health and Safety Considerations
Protective Equipment
When cleaning mattresses, especially with stains involving bodily fluids:
- Wear rubber gloves always
- Use face masks for mold or heavy stains
- Ensure good ventilation
- Keep children and pets away during cleaning
Allergy Considerations
If you suffer from allergies, using a vacuum with a HEPA filter can help contain allergens and purify your room.
For Allergy Sufferers:
- Use hypoallergenic cleaning solutions
- Ensure complete drying to prevent mold
- Consider professional cleaning more frequently
- Invest in high-quality mattress protectors
Maintenance Schedule Summary
— Daily (30 seconds):
- Air out bed for 15 minutes
- Quick visual inspection
— Weekly (10 minutes):
- Change and wash all bedding
- Light surface vacuuming if needed
— Monthly (30 minutes):
- Thorough vacuuming
- Baking soda treatment
- Mattress rotation
- Stain spot-checking
— Bi-annually (2-3 hours):
- Complete deep cleaning
- Steam treatment if available
- Professional inspection consideration
- Mattress protector replacement
As a conclusion... Fortunately, cleaning a mattress doesn't need to be complex. With the right techniques and regular maintenance, you can keep your mattress fresh, hygienic, and extend its lifespan significantly.
| Key Takeaways: |
|---|
| Act quickly on fresh stains for best results |
| Use natural, DIY solutions whenever possible |
| Prevention through mattress protectors is essential |
| Regular maintenance prevents major cleaning needs |
| Know when professional help or replacement is necessary |
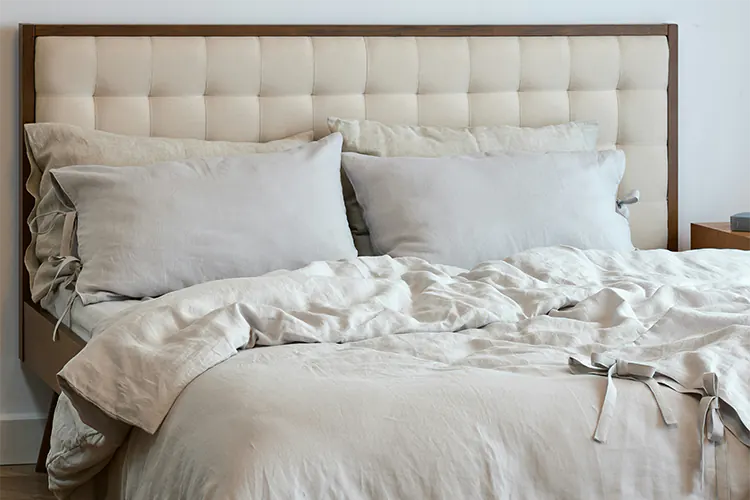
A clean and welcoming mattress is part of this—and there are a few important steps you can take to keep your mattress in the best shape for as long as possible to support a healthy sleep routine.
Remember, cleaning your mattress not only promotes better sleep, but it helps reduce sweat and allergens such as dust mites, pollen and dander that build up over time. Your investment in proper mattress care will pay dividends in better sleep quality and overall health for years to come.
By following this comprehensive guide, you'll transform your mattress from a potential breeding ground for allergens and bacteria into a clean, fresh foundation for restorative sleep. Sweet dreams!